
Flipping is Hard Playground & Candyland Guide — Floors 3 & 4
How to beat Floor 3 (The Playground) and Floor 4 (Candyland) in Flipping is Hard. Master the plastic slide launch, seesaw balance, and frosting bridge shortcuts.
Why Do So Many Players Fall in The Playground and Candyland?
In the first two zones of All 10 Trashlands Levels, nearly every platform is a flat concrete curb or a rectangular cardboard box. The moment you ascend into Floor 3: The Playground and Floor 4: Candyland, the level geometry shifts to cylindrical bars, curved plastic slides, tilting seesaws, and narrow sugar wafers.
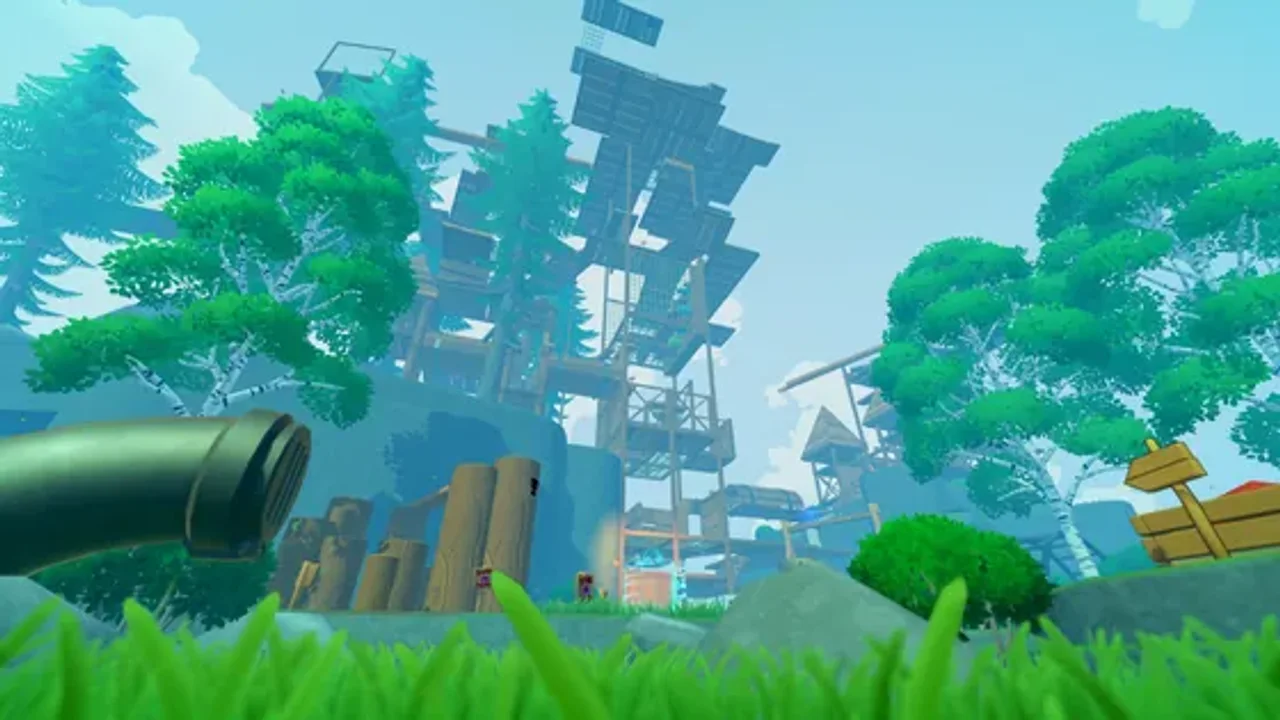
Here is how the two mid-early biomes compare:
| Biome Metric | Floor 3: The Playground | Floor 4: Candyland |
|---|---|---|
| Primary Hazard | Tilting seesaws & rounded slide rims | Narrow wafer bridges & sloped frosting ramps |
| Best Jump Technique | Bottom-edge hinge bounce for tall steps | Short, controlled flat-face half-flips |
| Secret NPCs & Lore | Plonk (hidden prototype plank character) | Overlooks the climb into Ms. Elephant’s Toy Chest |
| Golden Horse Coins | Coins #4 and #5 | Coins #6 and #7 |
Step-by-Step Route Through Floor 3: The Playground
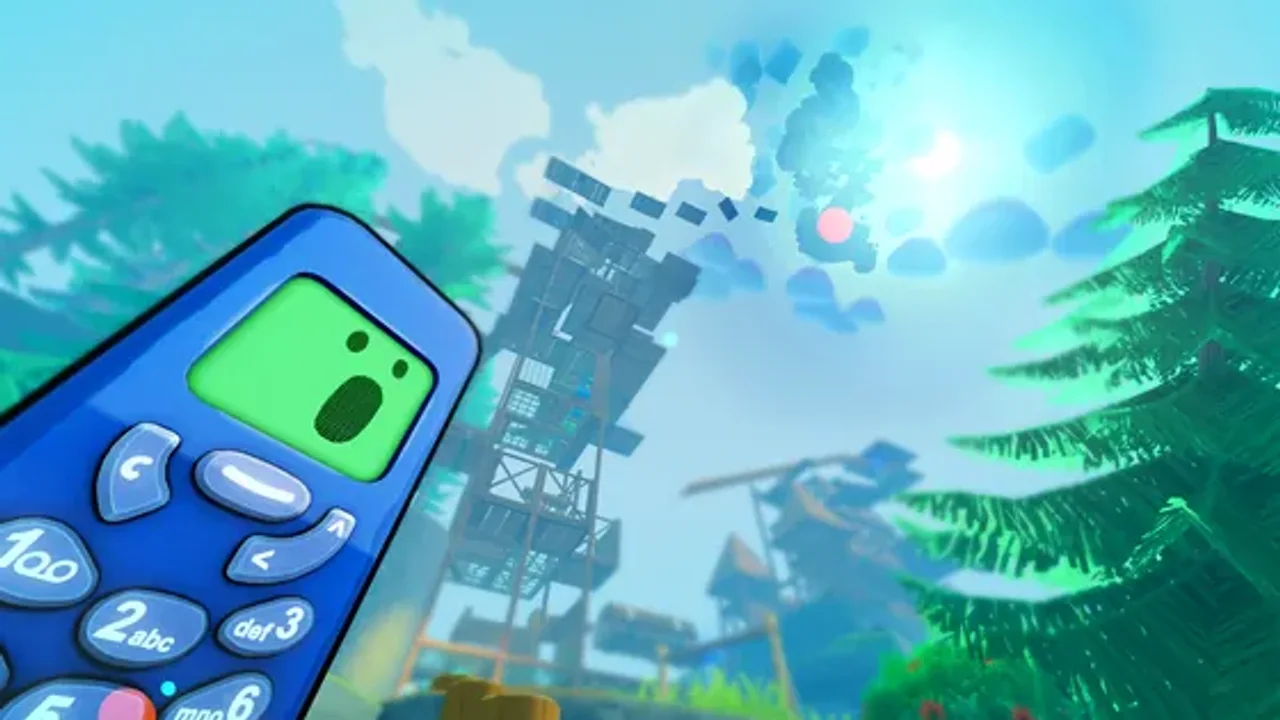
- The Sandbox Entry & Monkey Bars: Entering from Cardboard Fort, use the wide wooden sandbox border to align your camera. Skip jumping across individual round monkey bar rungs—instead, take the stacked primary-colored building blocks on the left flank, which give your Flippia 3310 wide, flat landing pads.
- Mastering the Tilting Seesaw: Walk—or gently micro-hop—onto the center fulcrum of the seesaw first. If you land heavily on the far tip while the board is tilted down, the recoil will catapult Flippy backward. Let the board tip upward toward the upper scaffolding, wait for it to hit its top stop, and then fire a clean forward jump.
- The Tube Slide Rim Shortcut: Don’t jump into the hollow center of the yellow slide. Aim for the flat connection flange where two slide segments bolt together, then use an antenna hinge bounce (explained in our Controls & Jump Guide) to vault directly to the upper platform.
Step-by-Step Route Through Floor 4: Candyland
Once you crest the upper jungle gym, the environment turns into Candyland—a pastel obstacle course of wafer cookies, spinning peppermint discs, and chocolate bar bridges.
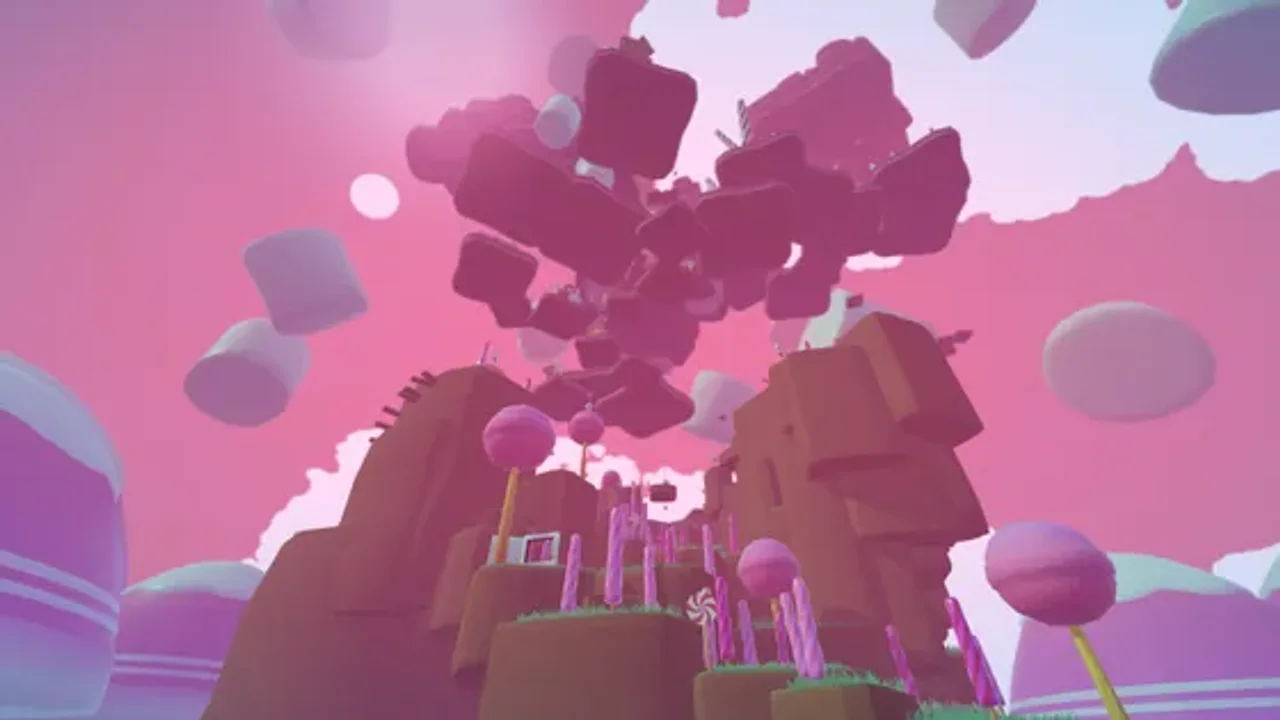
- The Wafer Stepping Stones: Wafer cookies have high surface grip, making them the safest resting spots in Floor 4. Treat every wafer as a mandatory stop to zero out your rotational wobble.
- Peppermint Disc Crossings: When jumping across series of circular peppermint pads, aim slightly short of dead-center so Flippy’s flat back cover slides into the middle of the disc rather than bouncing off the far rim.
- The Frosting Ramp Ascent: Near the top of Candyland, a steep pink frosting ramp leads up into Floor 5 (The Toy Chest). Use the raised sugar pearl bumpers along the left edge of the ramp as backstops—wedge Flippy against a pearl so you stop sliding, then launch straight up to the Toy Chest entrance.
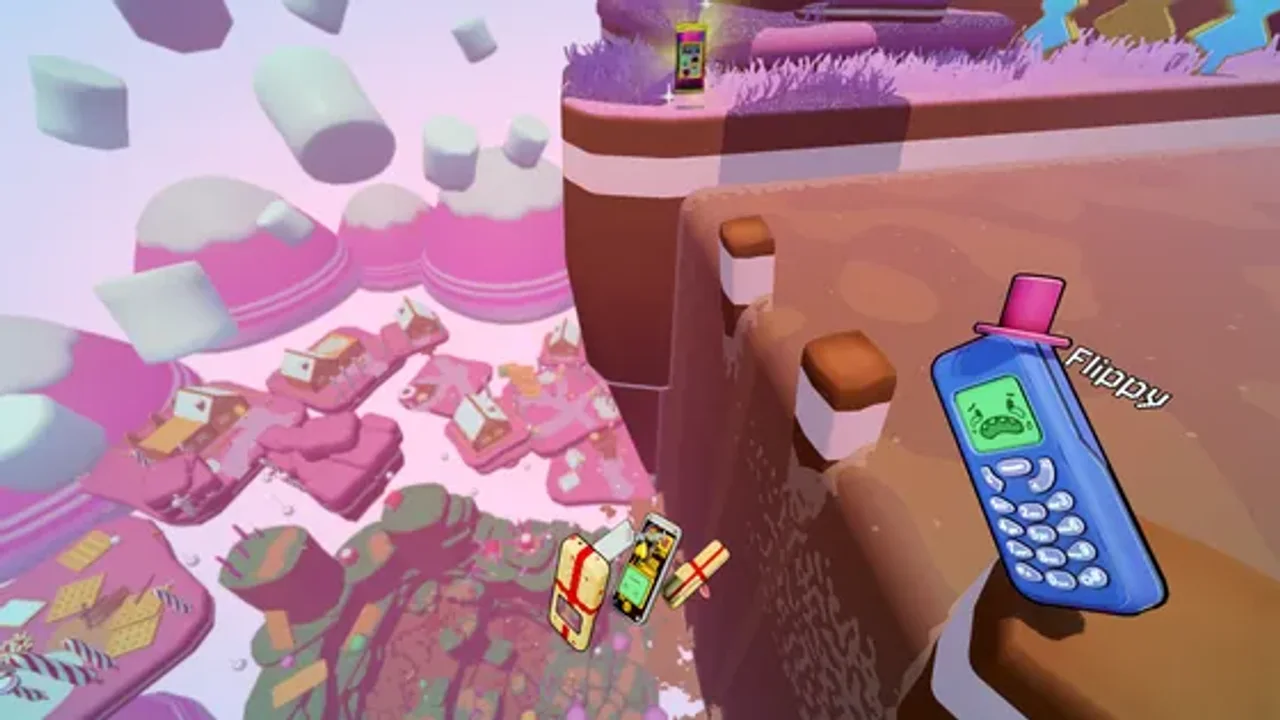
If a bad bounce knocks you off the peppermint discs, having a friend stationed at the top of Floor 4 with the Multiplayer Help Beam can save you a 5-minute reclimb. You can also check our Golden Horse Coins Guide for the exact coins tucked inside Floors 3 and 4, or unlock a high-visibility shell from our Redeem Codes List so you can read Flippy’s orientation against bright pastel candy backgrounds.
FLIPIA OS // VERIFIED ANSWERS
Frequently Asked Questions
How do you get past the plastic slide in Floor 3 (The Playground)?
Where is Plonk hidden in The Playground?
How do you stop sliding off the frosting ramps in Candyland?
Are there checkpoints in The Playground and Candyland?
NEXT IN TRASHLANDS
Related Field Guides
Did this Trashlands guide help your climb?
Signal received! Thanks for the feedback.