
All 10 Flipping is Hard Levels Walkthrough — Trashlands Route
Complete walkthrough of all 10 vertical Trashlands levels in Flipping is Hard: Storm Drain, Cardboard Fort, Playground, Candyland, Toy Chest, Grid, and Fridge.
What Are All 10 Trashlands Levels in Flipping is Hard?
When Jeff accidentally drops his beloved Flippia 3310 down a street grate, Flippy lands at the bottom of a massive, interconnected vertical world called The Trashlands. Every biome is stacked physically on top of the last—meaning if you slip off an outer ledge on Floor 7, gravity can send you tumbling all the way back to the lower floors.
| Floor | Level Name | Surface Physics & Signature Hazards | Key Secrets & Landmarks |
|---|---|---|---|
| 01 | The Storm Drain | Wet concrete ledges, curved sewer pipes, brick walls | Starting grate, basic jump tutorial, Coin #1 |
| 02 | Cardboard Fort | Corrugated shipping flaps, packing tape bridges | Center column box-corner skip, Coins #2–#3 |
| 03 | The Playground | Plastic slide tubes, tilting seesaws, monkey bars | Hidden prototype NPC Plonk, Coins #4–#5 |
| 04 | Candyland | Narrow wafer walkways, frosting slopes, peppermint discs | Sugar bridge shortcut, Coins #6–#7 |
| 05 | The Toy Chest | Wooden blocks, train tracks, giant dollhouse roof | Ms. Elephant NPC on cliff by dollhouse roof, Coins #8–#9 |
| 06 | The Grid | Motherboards, ribbon cables, spinning cooling fans | Capacitor bank ribbon skip, Coin #10 |
| 07 | The Fridge | Low-friction ice trays, wire racks, condiment bottles | Butter-shelf momentum check, Coin #11 |
| 08 | Blanket Fort Kingdom | Cushioned pillows, clothespins, draped bedsheet ramps | Soft-landing recovery cushions, Coin #12 |
| 09 | The Recycling Core | Conveyor belts, compactors, narrow steel catwalks | Final pre-summit gauntlet, Coins #13–#14 |
| 10 | The End | Street-level exit grating & sunlit surface curb | Final reunion with Jeff & run timer completion |
Floors 1–2 Walkthrough: The Storm Drain & Cardboard Fort
Floor 1: The Storm Drain
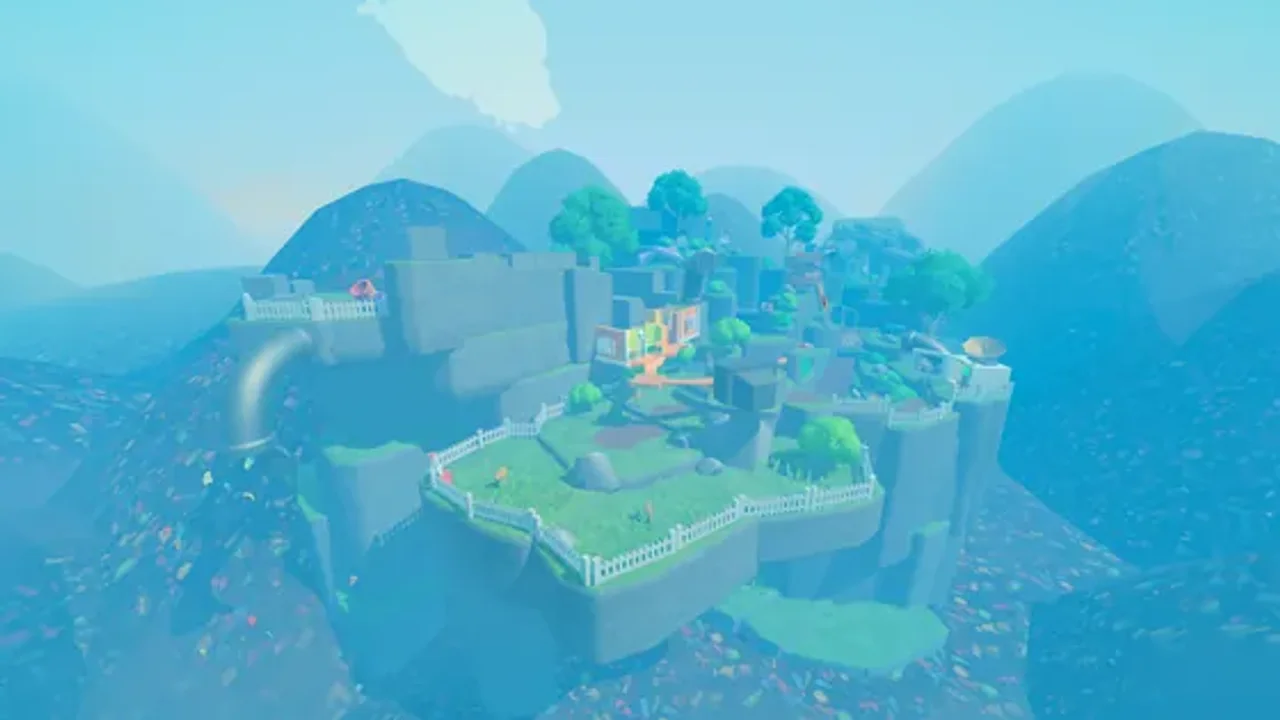
Your climb begins in the damp subterranean brickwork of The Storm Drain. This opening floor teaches you the golden rule of our Controls & Jump Guide: never jump while Flippy is rocking on its thin side rail. Use the wide concrete curbs to practice flat-face hops, then cross the rusted drainage pipe to reach the cardboard overhang.
Floor 2: Cardboard Fort
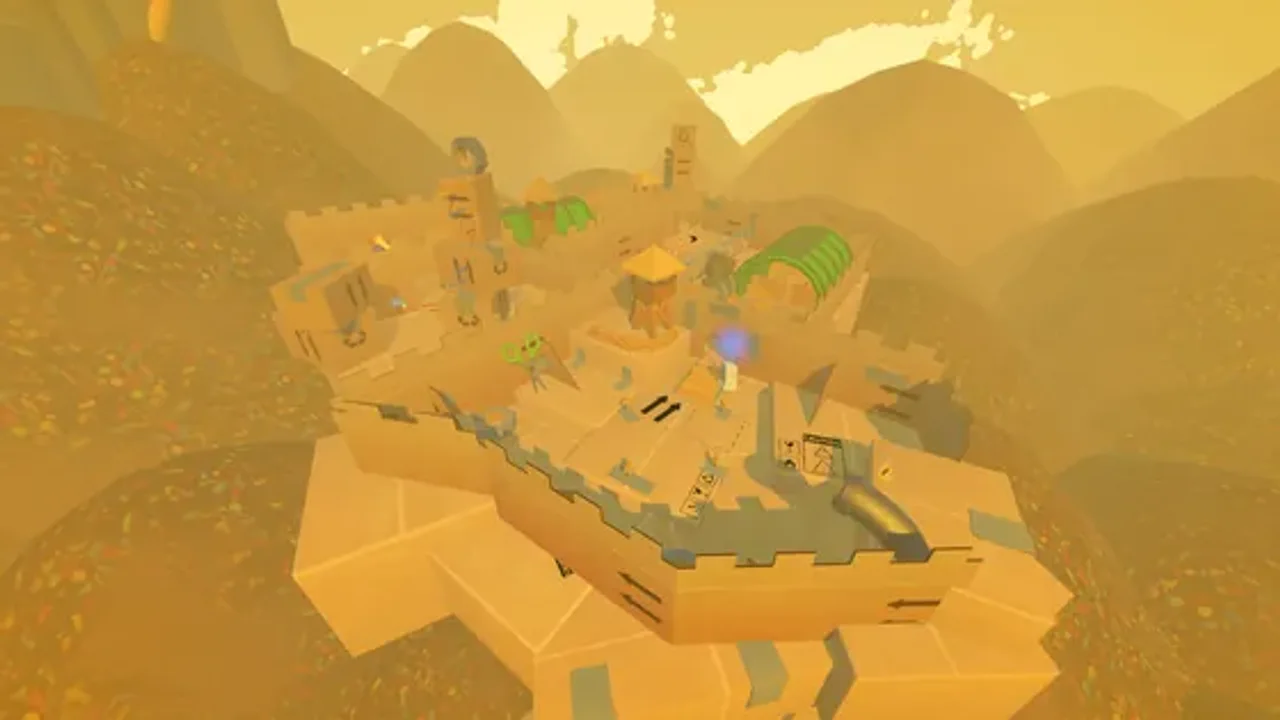
Above the sewer grating lies a towering citadel of discarded shipping boxes. Corrugated flaps flex slightly visually, and several flaps are angled at 15 degrees. Wait until Flippy comes to a full stop on each tape seam before launching upward. If you are running with friends, check our Multiplayer & Help Beam Guide to anchor a teammate on the upper wardrobe box.
Floors 3–5 Walkthrough: Playground, Candyland & The Toy Chest
Floor 3 & 4: The Playground & Candyland
Floors 3 and 4 introduce curved plastic and narrow confectionery platforms where edge-roll is your biggest enemy. For a dedicated breakdown of every tricky jump and shortcut across these two biomes, read our Playground & Candyland Level Guide. Don’t forget to detour behind the Playground scaffolding to meet Plonk!
Floor 5: The Toy Chest
The Toy Chest is a vibrant mid-tower sanctuary packed with wooden alphabet blocks, plastic action figures, and a multi-story dollhouse. Climb the interior staircase of the dollhouse to reach its pitched roof, then look to the adjacent cliffside ledge to speak with Ms. Elephant (covered in full in our Ms. Elephant & Plonk NPC Guide).

Floors 6–7 Walkthrough: The Grid & The Fridge
Floor 6: The Grid
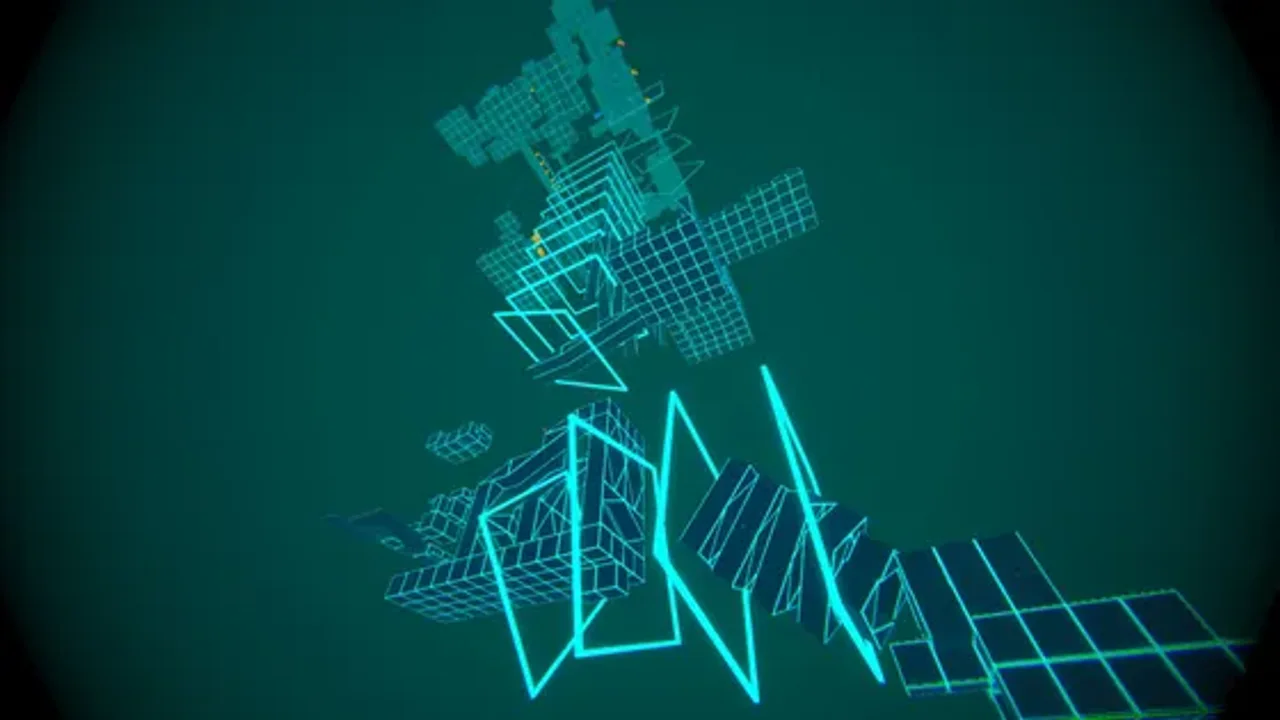
Rising out of the toy box drops you into The Grid, a neon cyber-junkyard built from discarded PC motherboards, RAM sticks, and whirring heatsink fans. The green PCB pathways are flat—which makes angle setup reliable—but spinning fan blades will swat Flippy off the board if you jump into their airflow cycle.
Floor 7: The Fridge
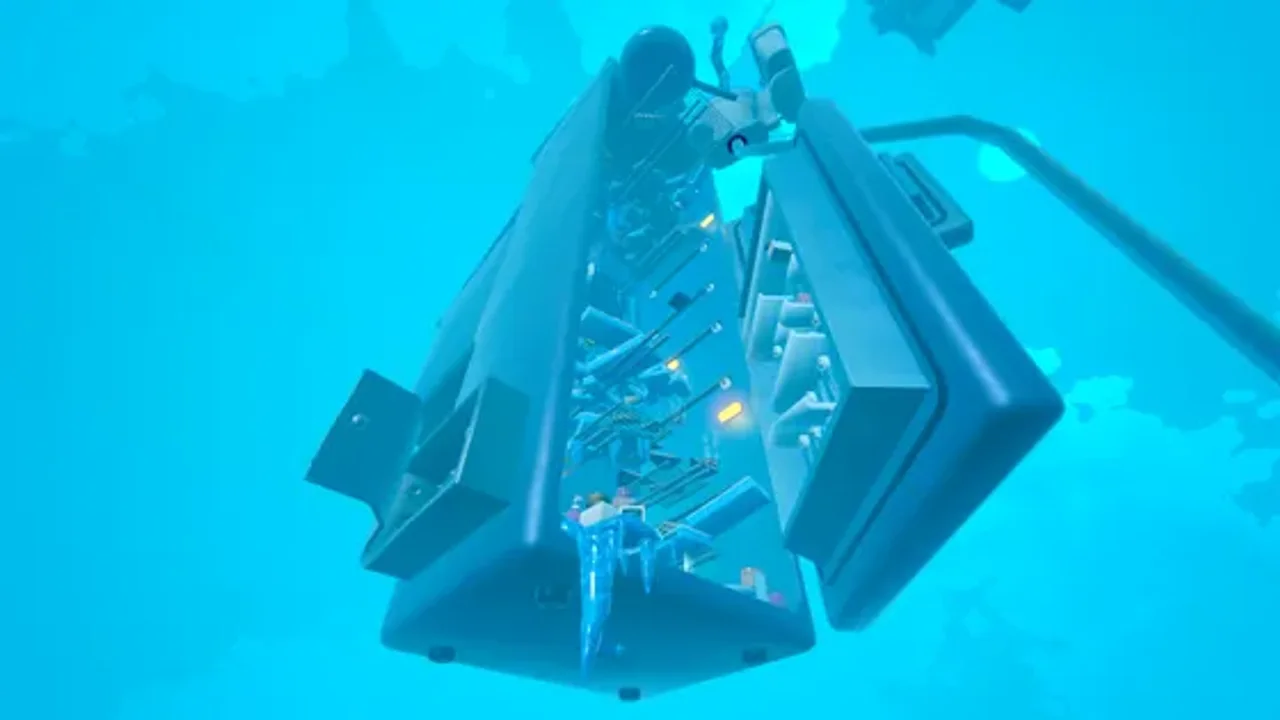
The Fridge is the single largest difficulty spike in the Trashlands. Frosted glass shelves and ice cube trays drastically reduce Flippy’s resting friction, while thin metal wire racks require pinpoint landing accuracy. Always aim to bank Flippy off vertical milk cartons or condiment jars so you don’t slide off the back edge of an ice shelf.
Floors 8–10 Walkthrough: Blanket Fort Kingdom, Recycling Core & The End
Floor 8: Blanket Fort Kingdom
After surviving the freezing racks of Floor 7, Blanket Fort Kingdom offers plush pillows and fabric hammocks that absorb Flippy’s bounce recoil. Use the soft sofa cushions to reset your posture quickly, but watch out for narrow wooden clothespins connecting the upper tent canopies.
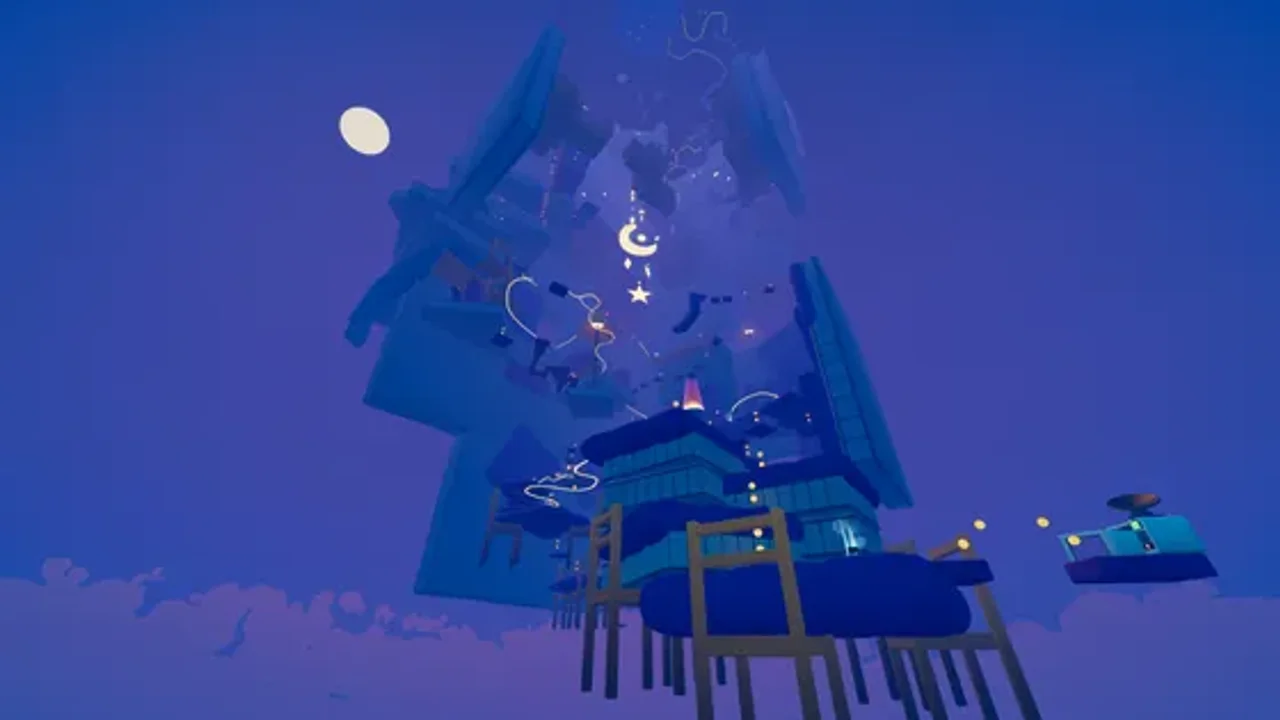
Floor 9: The Recycling Core & Floor 10: The End
The Recycling Core is the final industrial gauntlet before freedom. Moving conveyor belts and rhythmic sorting pistons demand strict timing: land flat on the belt, ride it to the yellow hazard line, and trigger a high antenna-hinge bounce before the belt carries you into the chute. Once you clear the upper turbine ring, you will emerge into Floor 10: The End, reuniting Flippy with Jeff on the surface and unlocking your final completion stats for our Achievements & Speedrun Guide and Golden Horse Coins Guide.

FLIPIA OS // VERIFIED ANSWERS
Frequently Asked Questions
How many levels are in Flipping is Hard?
Can you fall from a high level all the way back to Level 1?
Which level has Ms. Elephant and the dollhouse?
Which level is the hardest in Flipping is Hard?
NEXT IN TRASHLANDS
Related Field Guides
Did this Trashlands guide help your climb?
Signal received! Thanks for the feedback.